Wood wick candles have gained popularity in recent years for their unique and soothing crackling sound when lit. Not only do they create a cozy atmosphere, but they also make for a great DIY project. In this article, we will guide you through the process of creating stunning wood wick candles at home. From understanding the basics to troubleshooting common problems, you’ll be able to enjoy the ambiance of these candles in no time.
Understanding the Basics of Wood Wick Candles
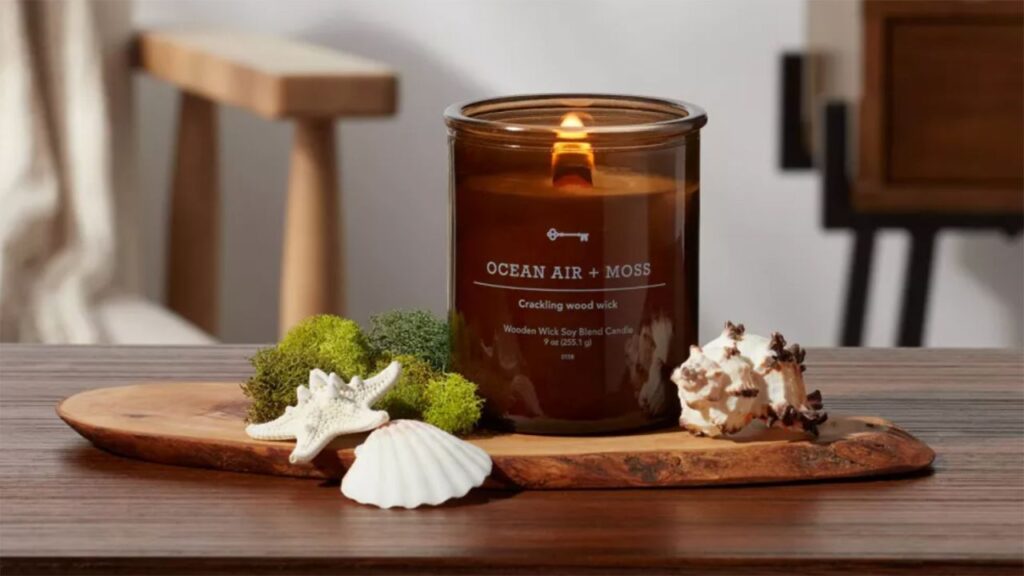
Wood wick candles are candles that have a wick made from wood instead of the conventional cotton or metal wicks. The wooden wick lends a rustic charm to the candle and creates a mesmerizing crackling sound reminiscent of a cozy fireplace.
Now that you have learned the ins and outs of creating wood wick candles, it’s time to get creative and start making your own. Whether you’re looking for a relaxing hobby or a thoughtful gift, these stunning wood wick candles will add a touch of warmth and elegance to any space.
What are Wood Wick Candles?
When it comes to wood wick candles, the type of wood used can vary, with popular choices including cherry, cedar, and birch. Each type of wood can influence the burning characteristics and the sound produced, giving you a unique sensory experience with every candle you light.
Benefits of Using Wood Wick Candles
There are many benefits to using wood wick candles. First and foremost, the crackling sound adds a unique touch to your home ambiance. Additionally, wood wicks tend to burn slower and produce less smoke, making them a healthier option compared to traditional wicks. They also have a wide range of sizes and scents available, allowing you to customize your candles to suit your preferences.
Another advantage of wood wick candles is their eco-friendliness. Wood wicks are sourced from sustainable forests, making them a renewable and environmentally conscious choice for eco-conscious consumers. By opting for wood wick candles, you are not only enhancing your living space but also contributing to the preservation of our planet’s natural resources.
Gathering Your Candle Making Supplies
Essential Materials for Wood Wick Candles
Before diving into candle making, make sure you have all the necessary supplies. This includes candle wax, a melting pot, a thermometer, candle fragrance oils, and a wooden wick. You’ll also need candle containers, such as jars or tins, to pour your melted wax into.
Additionally, having a dedicated workspace with proper ventilation is crucial for a safe and enjoyable candle making experience. Make sure to protect your surfaces with newspaper or a heat-resistant mat to catch any spills or drips during the process. It’s also recommended to have a fire extinguisher nearby in case of emergencies, although with proper precautions, candle making is a safe and rewarding craft.
Choosing the Right Wax and Wicks
When it comes to selecting the right wax for your wood wick candles, soy wax is a popular choice. Soy wax is eco-friendly, has a lower melting point, and provides a longer burn time. As for the wicks, ensure they are specifically designed for wood wick candles to ensure optimal burning. Find more about burning on https://ugc.berkeley.edu/background-content/burning-of-fossil-fuels/
Experimenting with different types of wax, such as beeswax or paraffin, can also yield unique results in terms of scent throw and burn characteristics. Likewise, exploring various wick sizes and materials can help you achieve the desired flame height and burn rate for your wood wick candles. Remember, the quality of your materials plays a significant role in the final outcome of your candles, so don’t hesitate to test and tweak until you find the perfect combination.
Step-by-Step Guide to Making Wood Wick Candles
Preparing Your Workspace
Before starting the candle-making process, set up a clean and organized workspace. This will ensure you have enough room to work and prevent any accidents. Lay down newspaper or a protective covering to catch any wax spills. Make sure to have all your materials and tools within reach, including your wax, fragrance oils, colorants, and any other additives you may want to include in your candles.
Consider setting up a designated area for cooling and setting the candles after pouring. This space should be away from any drafts or sudden temperature changes to ensure your candles set properly and retain their shape.
Melting the Wax
Using a double boiler or a melting pot, heat the wax to its recommended melting temperature. Stir occasionally to encourage even melting. Be mindful of the type of wax you are using, as different waxes have different melting points and melting characteristics. For added flair, you can consider mixing different types of waxes to achieve unique textures and burn characteristics in your candles.
Assembling the Wood Wick
While the wax is cooling, assemble the wood wick. Insert one end of the wooden wick into the metal base, ensuring it is secure. Wood wicks are a popular choice for candle-making due to their aesthetic appeal and soothing crackling sound when burning. You can customize the length of the wick based on the size of your candle container and desired burn time.
Experiment with different wood types for your wicks, such as cherry, cedar, or maple, to add a subtle fragrance element to your candles. Each wood type can impart its unique scent when burned, enhancing the overall sensory experience of your handmade candles.
Pouring and Setting the Candle
Slowly pour the melted wax into the prepared candle container, taking care not to disturb the wick. Fill the container almost to the top but leave a small space for the candle to expand as it cools. You can further customize your candles by layering different colored waxes or adding dried flowers, herbs, or decorative elements between layers for a visually stunning effect. To learn more about herbs click here.
Once the candle is poured, resist the temptation to move or disturb it to prevent any imperfections in the final product. Allow the candle to set undisturbed for several hours or overnight, ensuring a smooth and even finish. As the candle cools and solidifies, it will develop its characteristic texture and appearance, ready to be enjoyed or gifted to others.
Customizing Your Wood Wick Candles
Adding Fragrance and Color
To add fragrance to your wood wick candles, incorporate scented candle oils or essential oils into the melted wax. Stir gently to ensure the fragrance is evenly distributed. For a more customized scent, consider blending different oils to create your own unique fragrance profile. Experiment with various combinations to find the perfect aroma that suits your preferences.
When adding color to your wood wick candles, think about the mood or theme you want to convey. Soft pastel colors can create a calming atmosphere, while vibrant hues can add a fun and energetic touch to your space. You can also try layering different colors to achieve a multi-dimensional look in your candles. Remember, the color of your candles can significantly impact the overall ambiance of a room, so choose wisely.
Designing Candle Containers
Get creative with your candle containers by decorating them with ribbons, labels, or even hand-painted designs. Consider the aesthetic of the room where the candles will be placed and choose container decorations that complement the existing decor. For a rustic feel, opt for natural elements like twine or dried flowers. If you prefer a more modern look, sleek and minimalistic designs may be more suitable.
Personalizing your candle containers not only adds a decorative touch but also makes them great for gifting. You can customize the labels with personal messages or the recipient’s name, creating a thoughtful and unique present. Additionally, consider repurposing containers you already have at home, such as mason jars or vintage teacups, to give your candles a charming and eco-friendly twist.
Learn about trmming of wicks candle on: How to Use a Candle Wick Trimmer for Better Burns
Troubleshooting Common Candle Making Problems
Preventing Tunneling in Wood Wick Candles
Tunneling occurs when the candle burns down the center, leaving a ring of unmelted wax around the edges. To prevent tunneling, ensure the initial burn time is long enough for the wax to melt to the edges of the container. Trimming the wood wick to an appropriate length can also help promote an even burn.
Additionally, another way to prevent tunneling in wood wick candles is to avoid burning the candle for short periods of time. It’s best to allow the candle to burn long enough for the entire top layer of wax to become liquid before extinguishing it. This practice will help the candle achieve a full melt pool, preventing tunneling and ensuring an even burn throughout the candle’s lifespan.
Fixing Uneven Burning
If your wood wick candle is burning unevenly, gently reposition the wick while the wax is still warm and pliable. This will encourage an even burn and prevent one side from burning faster than the other.
Moreover, to further address uneven burning in wood wick candles, rotating the candle periodically while burning can help distribute the heat and wax more evenly. This simple action can prevent tunneling and ensure that the candle burns uniformly, providing a longer-lasting and more aesthetically pleasing experience.